Getting Started
Starting with the Drivetrain
Most teams start their robot design with the drivetrain. The drivetrain is the most important part of your robot — without it, your scoring mechanisms aren't going anywhere!
The most common drivetrain type is a tank drive with omni wheels. This design is simple to build, provides good traction, turns smoothly, and is great for both beginners and experienced builders.
Standard Parts — Why Still Model Them?
Even though VEX parts are all standardized, modeling them in CAD is still valuable:
- Team communication — Make it clear to everyone where each bolt, bearing, and standoff goes
- Design reference — The drivetrain model serves as the foundation for building scoring mechanisms later
- Verification — Calculate weight and dimensions in advance to avoid exceeding size limits
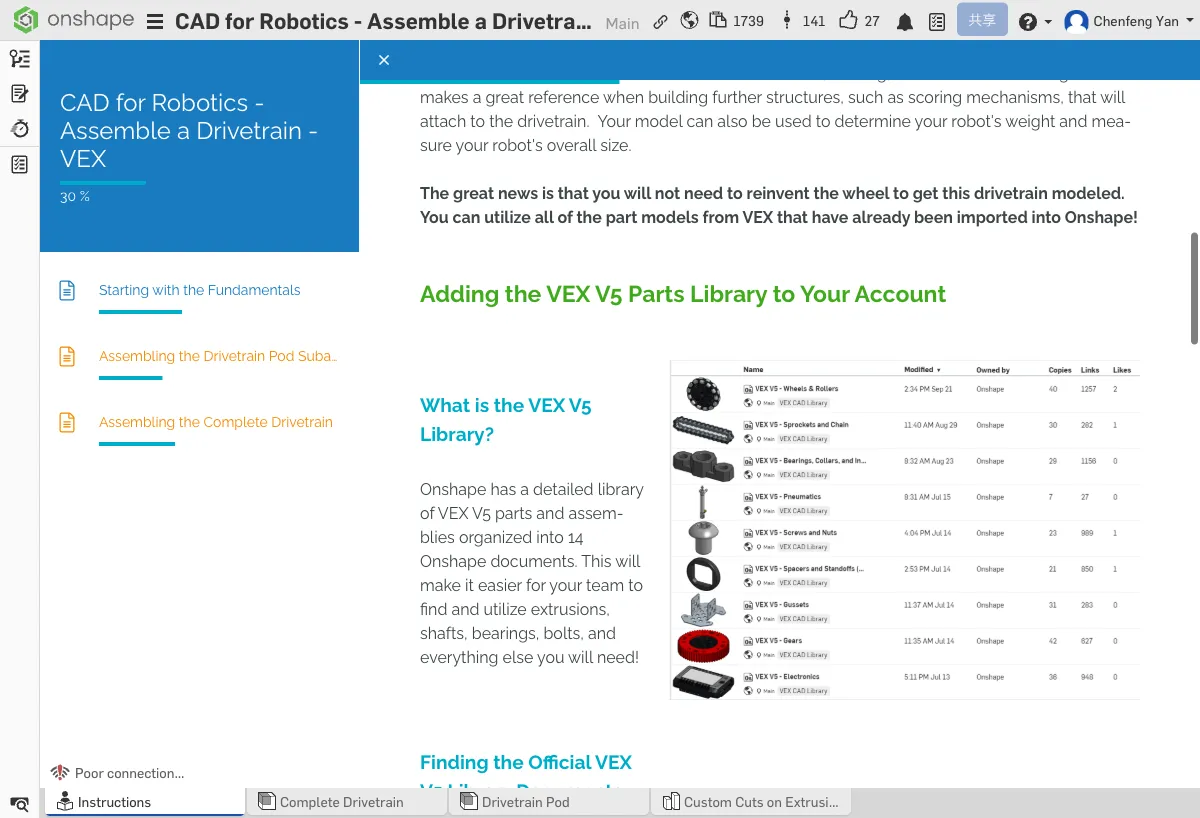
Adding the VEX V5 Parts Library
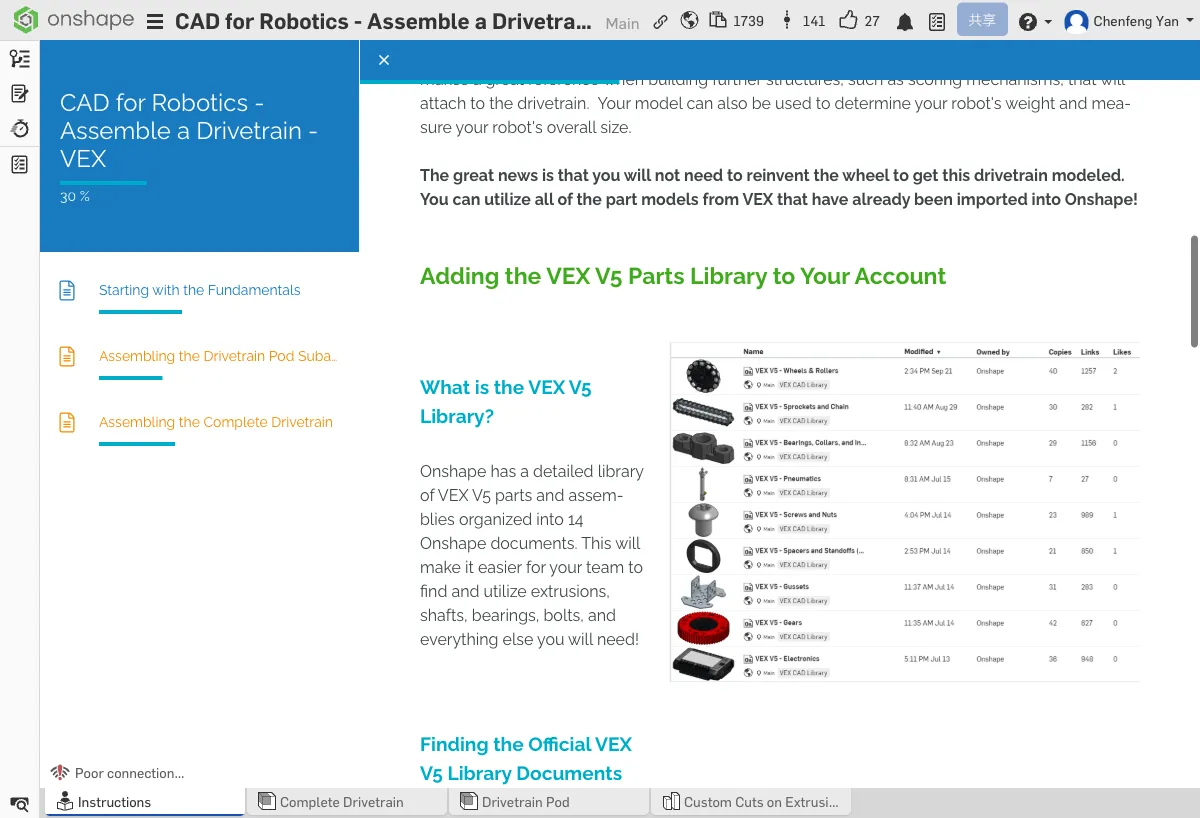
The VEX V5 parts library contains 14 Onshape documents covering all VEX V5 parts. You need to add them to your account first:
- Open the Onshape Documents home page
- Switch the search box to Public search mode
- Search for "Official VEX V5 Library"
- Select all 14 documents
- Click Create Label and name it "VEX V5 Parts"
On the Documents home page, click the "VEX V5 Parts" label you just created — you should see 14 documents.
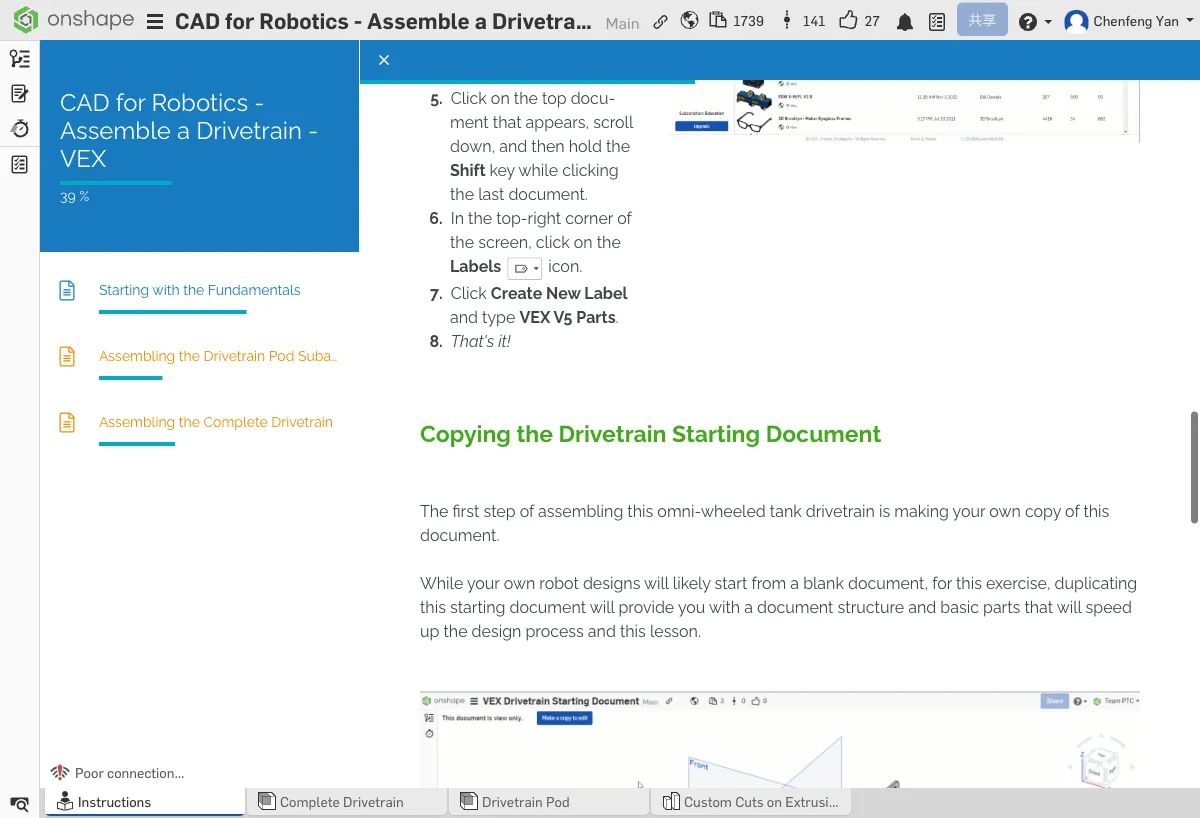
Copy the Tutorial Document
Next, copy the tutorial's companion document to your own account. While you'll start from blank documents for your own designs in the future, this copy will save you a lot of time for now.
Click to open the Onshape tutorial document in a new tab, then copy it to your own account
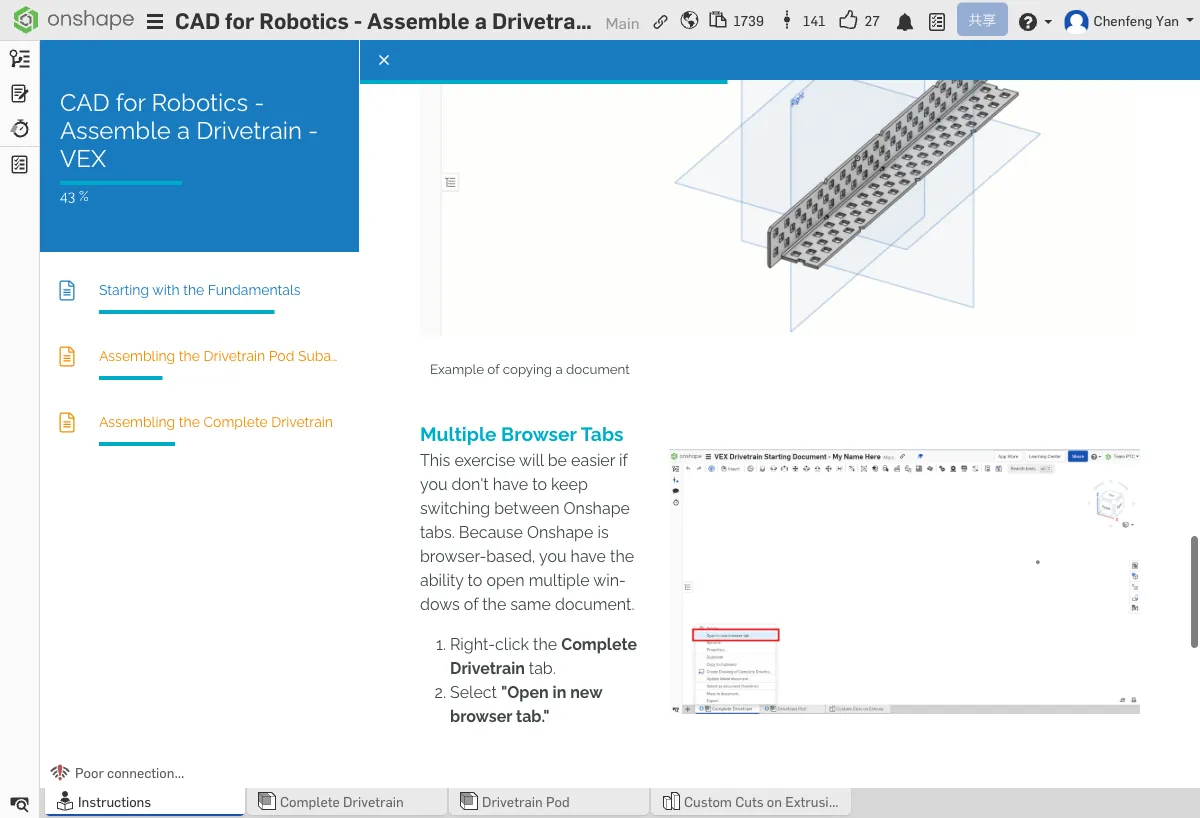
Working with Multiple Tabs
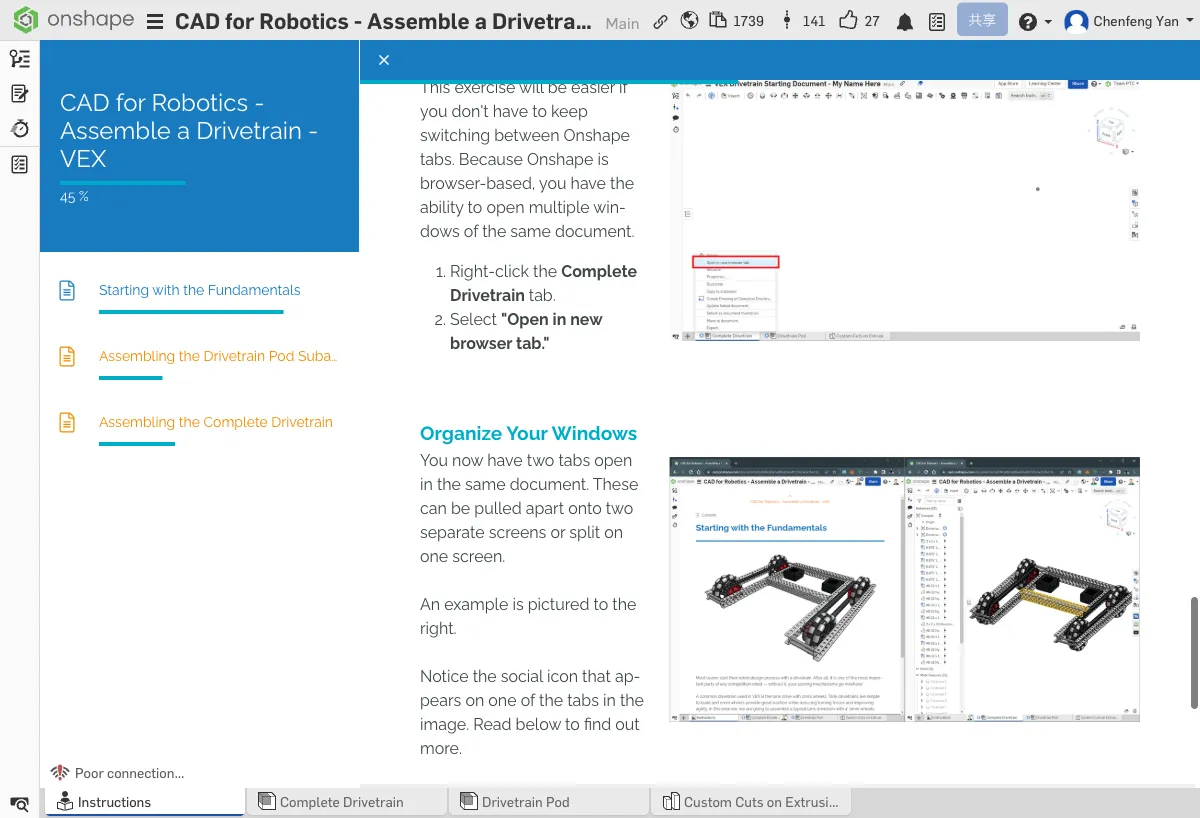
During assembly, you'll need to view both the completed reference model and your own workspace. We recommend using multiple tabs:
- Right-click the Complete Drivetrain tab at the bottom of the document
- Select "Open in new tab"
- Split the two tabs side by side — one for reference, one for your workspace
Collaboration Icons

Onshape supports real-time multi-user collaboration. When other team members are editing the same document at the same time, you'll see their avatar icons in the interface. This is one of Onshape's greatest advantages — everyone can work simultaneously without interfering with each other.
Confirm that your Onshape account has a copy of the tutorial document, and you've split the screen with multiple tabs.
What You Learned in This Chapter
- The VEX V5 parts library has 14 documents — manage them with labels
- Copy the tutorial document to your own account before working
- Multi-tab split-screen makes you more efficient
Quick Quiz
What must you add to Onshape before you can use VEX parts?