Drawings & Presentation
Copy the Document
As before, start by copying the tutorial document to your own Onshape account.
This will open the Onshape tutorial document in a new tab. Then copy it to your own account.
A. Drawings
What Are Drawings?
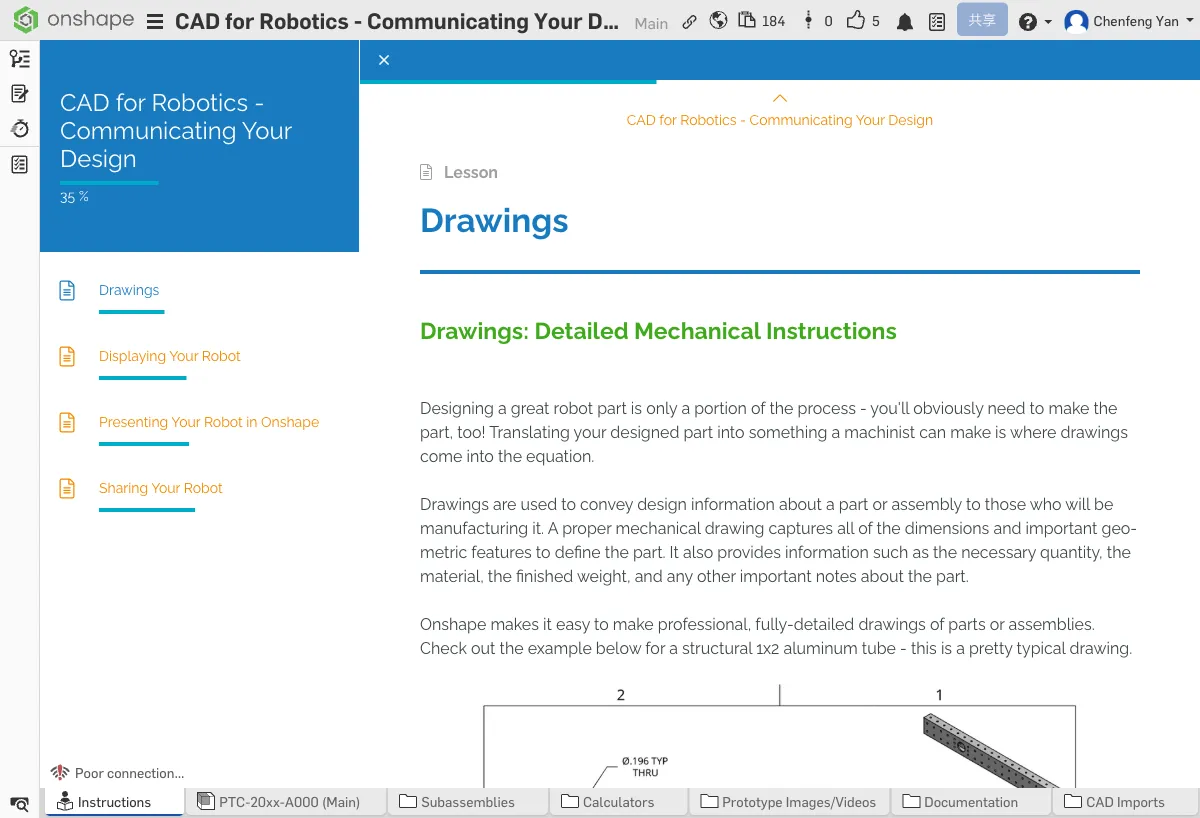
Drawings are detailed manufacturing instructions that include dimensions, tolerances, and material callouts. They transform your 3D design into 2D blueprints -- factories and machine shops use these drawings to manufacture parts.
Where to Learn Drawings?
The Onshape Learning Center has a dedicated "Introduction to 2D Drawings" course that covers everything about drawings. If you want to dive deep into dimensioning standards, we recommend completing that course.
This chapter focuses on: how to use drawings effectively in robotics competitions.
Best Practices for Competition Drawings
Good news: competition drawings don't need to be as strict as factory blueprints. You don't have to annotate every tolerance and surface finish. Focus on:
- Key dimensions -- mounting hole spacing, overall dimensions, critical mating surfaces
- Design intent -- show judges you understand why you designed it this way
- Clarity and readability -- judges should be able to quickly understand your drawing
Creating a Drawing Template
We recommend creating a standard title block template with your team logo and info. This way you won't have to set it up every time you create a new drawing:
- Team name and number
- Competition season
- Drawing number and date
- Scale
Creating a BOM (Bill of Materials)
A BOM (Bill of Materials) lists all parts, quantities, and materials in an assembly. Onshape can automatically generate a BOM table from your assembly.
- Insert a BOM table into your drawing
- Verify that part names and quantities are correct
- Add material and notes information
A BOM helps you keep track of parts, plan purchases, and is an important part of your engineering notebook.
Think about what drawings can help you show judges. How are competition drawings different from factory blueprints?
B. Displaying Your Robot
Quick Screenshots
Onshape's Print feature can export high-quality PNG images. This is the fastest way to capture model screenshots:
- Adjust the viewing angle
- Click Print in the menu (or press Ctrl+P)
- Save as a PNG image

Camera and Rendering Options
- Perspective / Orthographic view -- Perspective looks more realistic; orthographic is better for technical documents
- Background color -- White backgrounds work best for documents and papers; dark backgrounds for presentations
- Part colors and materials -- Assign different colors and materials to parts for a more realistic model
Named Views
Named Views let you save specific camera angles and display settings. Set up a great angle, save it as a named view, and restore it with one click whenever you need it:
- Front view, side view, isometric view
- Close-up angles highlighting specific mechanisms
- Standard views suitable for documentation
Making GIFs / Animations
Animated presentations are more impactful than static images. You can create GIF animations using these methods:
- Onshape animation feature -- Record robot motion (e.g., gripper opening/closing, drivetrain turning)
- Screen recording -- Use a screen recorder to capture manual model rotation
- Use cases -- GIFs are great for engineering notebooks, posters, and team websites


Open your model, set the background color to white, adjust the viewing angle, and export a PNG image using the Print feature.
Save the angle that best showcases your robot design as a Named View for easy reuse later.
Quick Quiz
What does BOM stand for?
What You Learned in This Chapter
- Annotate key dimensions on drawings for manufacturing
- Named Views save commonly used angles
- Export high-quality renders and GIFs